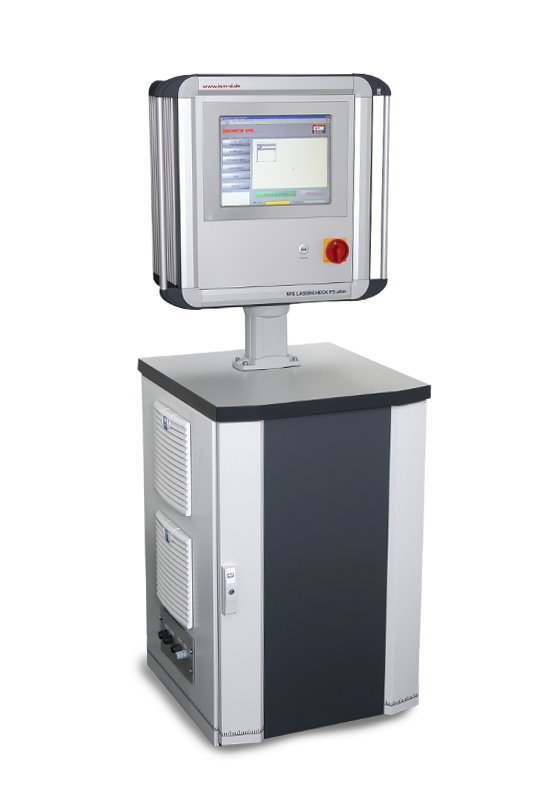
The SF6 LASERCHECK P3:vac is designed for integral leakage testing in vacuum. As a light source, the SF6 LASERCHECK P3:atm features a laser specially developed for this application, which illuminates the internal detection chamber to determine the SF6 concentration. In contrast to systems that use a thermal emitters as a light source, the system is able to detect very small leaks while significantly shortening test cycle times.
Since the temperature of the test specimens has no influence on the measuring process, the SF6 LASERCHECK P3:atm leak test system reliably delivers consistent results even under harsh environmental conditions such as encountered in industrial production. Due to the system’s fully automatic operation, no operator-dependent influences occur and reject levels in the ppm range are facilitated. A self-diagnostic module implemented in the SF6 LASERCHECK P3:atm monitors and documents all relevant system parameters. The system is therefore perfectly suited for industrial quality assurance and production control.
The SF6 LASERCHECK P3:vac uses a novel principle of leak testing (patent pending). The windowed detection chamber inside the system is illuminated by a specifically developed CO2 laser. A sample of the gas mixture from the test chamber is transferred to the detection chamber by a special membrane pump (VMM11). If the sample contains SF6 released from the test specimen, this leads to absorption processes specific to SF6, allowing a reliable detection of the test gas. The output signal of the sensor is near proportional to the test gas concentration in the detection chamber.
For system control, the SF6 LASERCHECK P3:vac provides a serial interface (RS 232 or Profibus DP). All system functions executed can be output via the interfaces for documentation. In many cases, external control is therefore not required. In addition, measurement data can be statistically evaluated for the purpose of quality assurance. Thus, any faults that may occur in the manufacturing process are reliably registered. The system is equipped with a pulse leak module for calibration or test procedures. Leakages on the test object can be simulated easily and reliably via the pulse leak PLA 40.
For integral leak testing, the SF6 filled test piece is placed in a test chamber. The test chamber is then evacuated to an absolute pressure of about 10 – 20 mbar. SF6 escaping from the specimen and thus entering the test chamber is drawn into the system’s detection chamber via the vacuum module. Since the system’s vacuum module is connected to the test chamber via pipes, the measuring system can be easily integrated into testing facilities. The vacuum in the test chamber is mainly required for fast transport and uniform distribution (diffusion) of the test gas. This does not require a high vacuum. In most applications, an absolute pressure of about 10 – 20 mbar is sufficient, which is even achieved by simple, oil-sealed rotary vane pumps.
The vacuum equipment for the test chamber is not part of the standard scope of delivery, but we will be pleased to supply it on request.
